
We built our own garden room office to escape the noise and distractions of working from home – and in this step-by-step series, we show you exactly how to do the same.
You’ll find the full build process here, from foundations to roof, along with detailed plans to help you create a high-quality garden room from start to finish.
Our aim was simple: build something that looks great, performs well, and lasts -without the high cost of a typical pre-built garden room.
Like many, we needed a dedicated workspace away from a busy house. Building a garden office gave us a practical, comfortable solution that’s genuinely enjoyable to work in.
After looking at off-the-shelf options, we found they often fell short on quality and value. So we built our own – better materials, better performance, and far more cost-effective.
Everything in this series follows proven methods and good building practice, so you can build with confidence and end up with a garden room that’s built to last.
Jump to Build Stage
Discount Codes
I have managed to negotiate discount codes with the following companies:
- Materials Market – Timber and Building Supplies. Provide trade prices & a clear website.
- 5% Discount Code MAKERSMANUAL5
- Rubber4Roofs.co.uk – EPDM Roof Membrane Kits
- 5% Discount Code MAKERSMANUAL
Self Build Plans (DIY)
You can purchase build plans to make this Garden Room for yourself. I have spent a great deal of time making these plans as good as possible. You can find a Cold Roof Version that is 2.45m tall for Permitted Development Regulations and a Warm Roof Version that is 2.8m tall for more internal space.
Part 1: Permitted Development & Foundation Options
We dive into Planning Permission, or in this case, Permitted Development, and explore how these regulations impact our build. We then design the timber base frame and foundations, carefully evaluating different foundation options. Ultimately, we choose a solution that is both cost-effective and suitable for a DIY installation.
Useful links:
Part 2: Foundations & Base Frame
We roll up our sleeves and begin digging the foundations, carefully constructing the base frame. It’s important to research the best foundation option for your specific project, but our approach is remarkably straightforward. The more you build, the simpler the process becomes, as the frame naturally guides the positioning of the next foundation hole and post.
Along the way, we share a few practical tips: how to create a jig for cutting multiple joists to identical lengths with ease, how to sort joists for a level floor, and how to select the right joist hangers for your needs.
Tools & Products Used
Part 3: Floor Insulation & Subfloor
We focus on construct a soakaway, insulating the floor, and installing the subfloor. I’ll guide you through determining the correct size for a soakaway and its purpose, calculating the U-value to decide on the right amount of insulation, and finally, laying an OSB subfloor. We’ll also explore the role of a damp-proof membrane and the practical considerations of outdoor construction.
Useful links:
- Timber Merchant 5% Discount Code MAKERSMANUAL5
- Scottish Building Standards
- English Building Standards
- U-value Calculator
Tools & Products Used
Part 4: Stud Wall Framing
We uncover the base frame after it’s been wrapped up for winter. After a few minor repairs, we get to work building the stud walls and sheathing. We explain all the jargon used in timber frame construction and explain why things are built the way they are. The front wall was particularly challenging (and fun), because it has two windows and a large door in a small area. This meant we had to pay particular attention to the order we put it together.
Part 5: Warm Roof vs Cold Roof?
In this episode, we take a break from building to explore the different roofing options for a Garden Room. We look into Structural Insulated Panels (SIPs), as well as a detailed look at Warm Roof and Cold Roof options. We explain how each are constructed and then look at the Pros and Cons of each approach.
We also highlight what seems to be a significant flaw in Warm Roof designs, that the industry is apparently overlooking. Maybe we’re overthinking things, but all the logic seems to indicate that it’s a real issue. Please let us know your thoughts on the matter (comment on YouTube).
Part 6: Flat Roof, EPDM Membrane & Fascias
We build the roof; including adding the insulation, fascia’s and EPDM roofing membrane. It feels great to have a rain tight building and really takes the pressure off. As we build the roof, and describe the difference between a cold and warm roof and how things differ. We also give a detailed explanation of how to install the fascia’s, which we struggled to find information on in our research.
Tools & Products Used
- EPDM Roof Kit
- 5% Discount Code MAKERSMANUAL
- PIR Insulation 100mm
- 5% Discount Code MAKERSMANUAL5
- Insulation & Membranes
- Tie Truss Clips
- Square Twist Nails
- 50mm Outdoor Screws
- 125mm Framing Screws
- Foam Gun
- Expanding Foam
- Aluminium Foil Tape
- Thermally Broken Fixings
Part 7: Fitting uPVC Windows & Doors
We install uPVC windows and doors. This is a surprisingly easy process, so long as you follow the steps in the video. After you’ve watched this, you’ll never want to pay for someone else to do it again.
We also look into the best way to cut the breather membrane around the window and door openings. Strangely we struggled to find professional advice on this in the UK, but what we did find confirmed that it is an important step to get right. We ended up bucking the trend and took a different approach to most builders.
Tools & Products Used
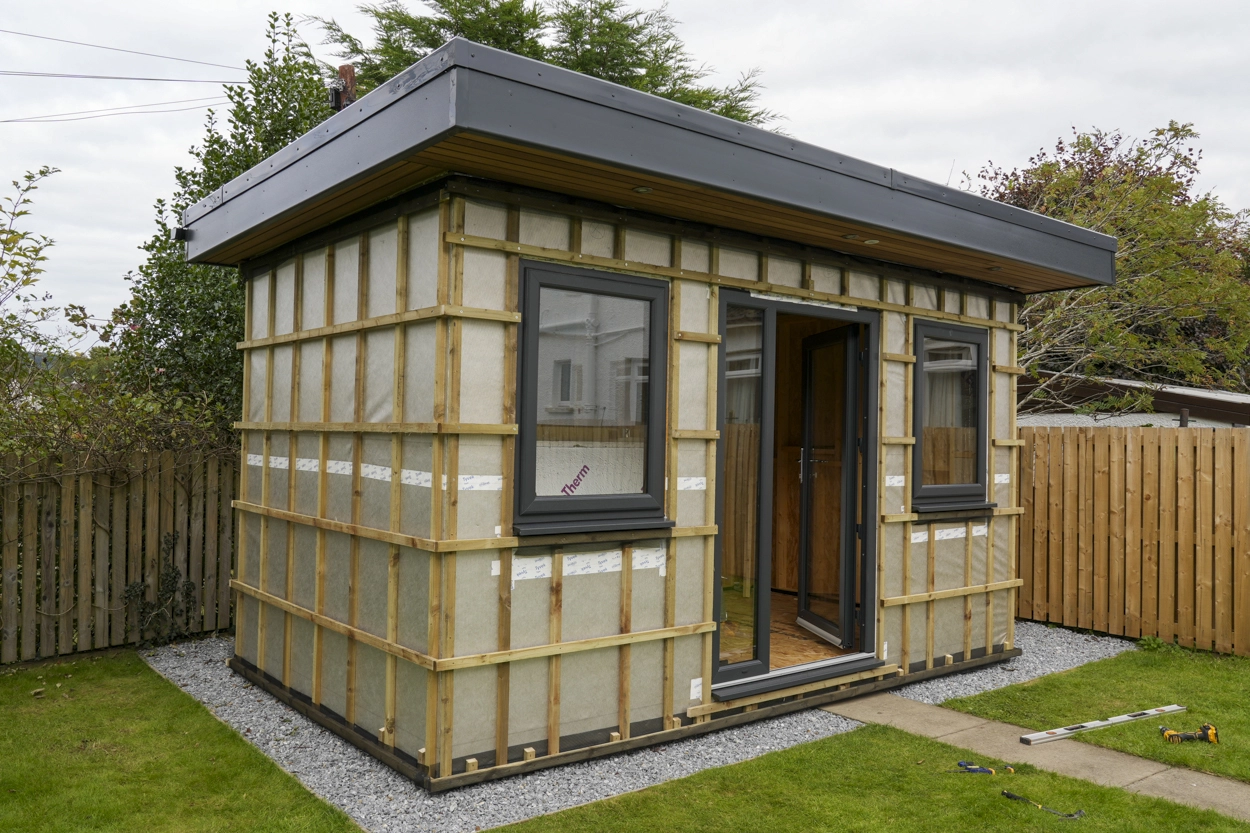
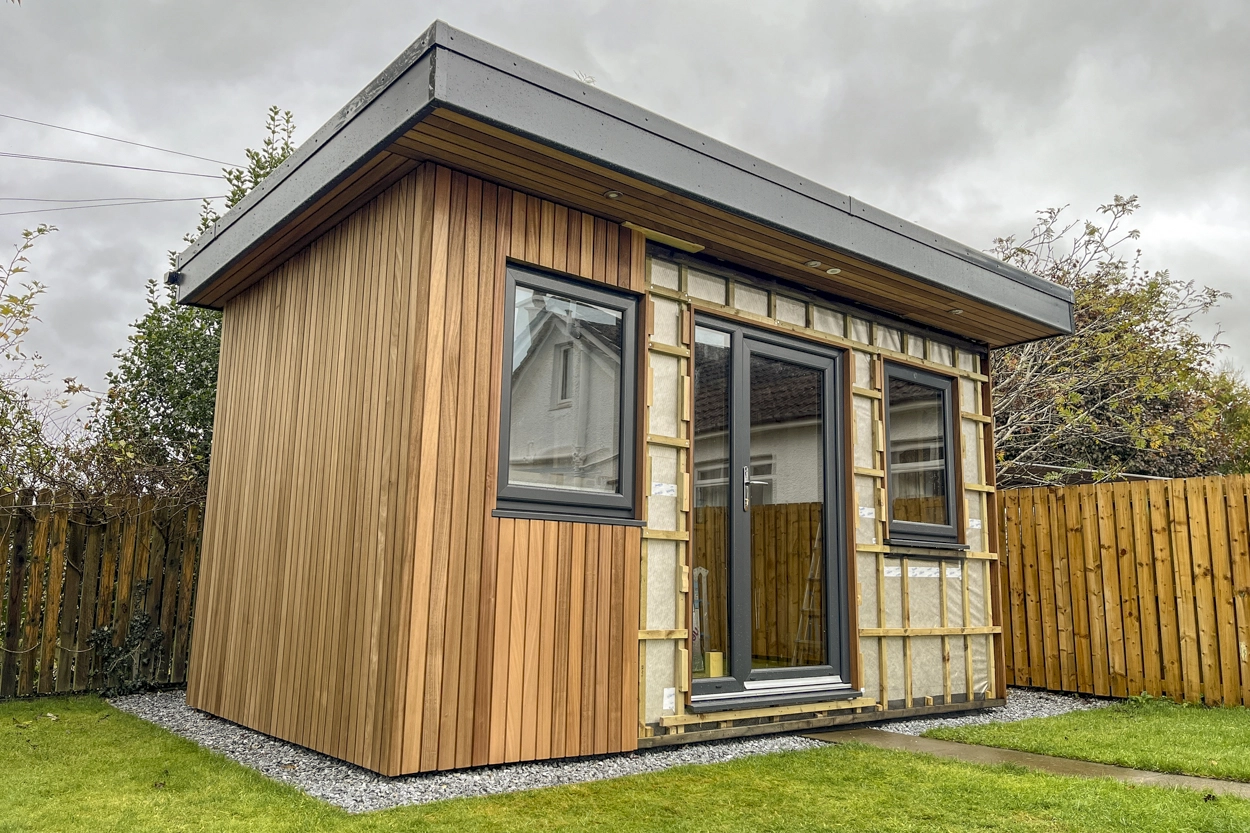
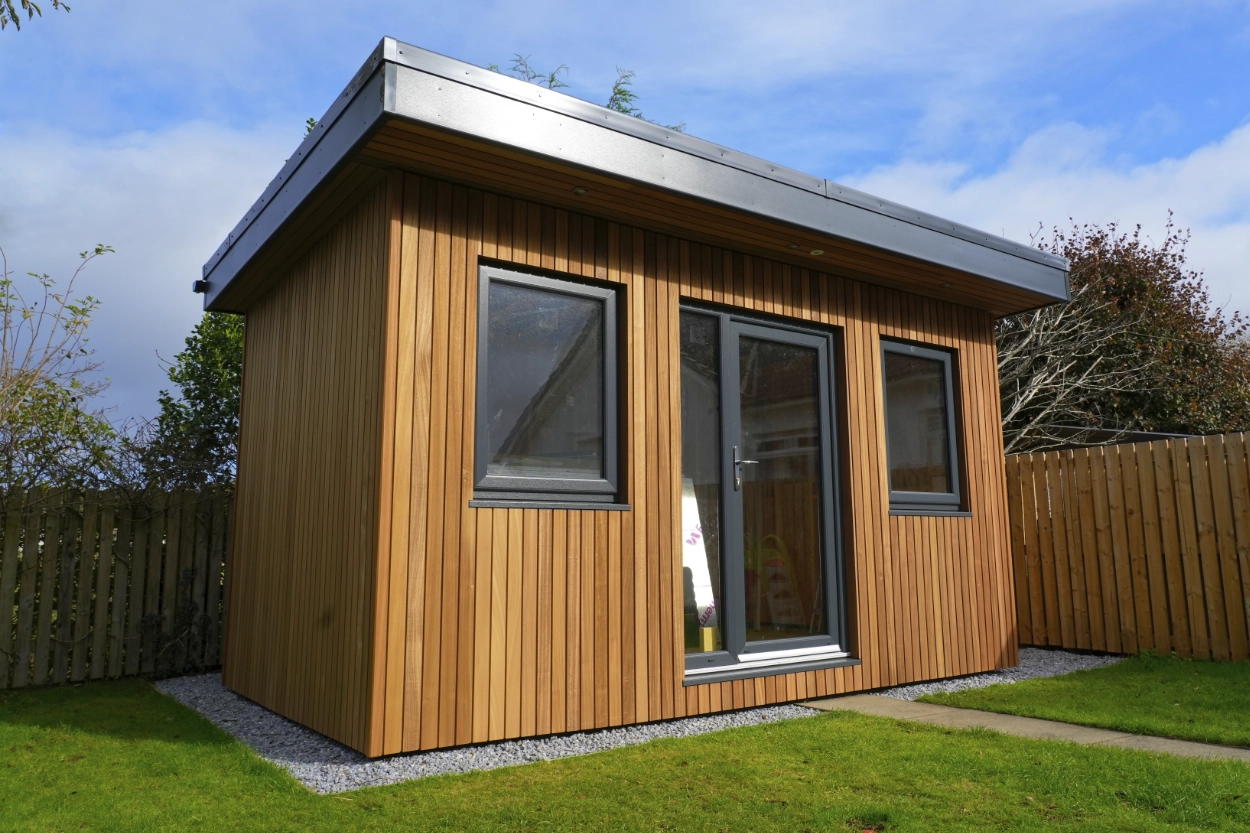
Part 8: Batten & Timber Cladding
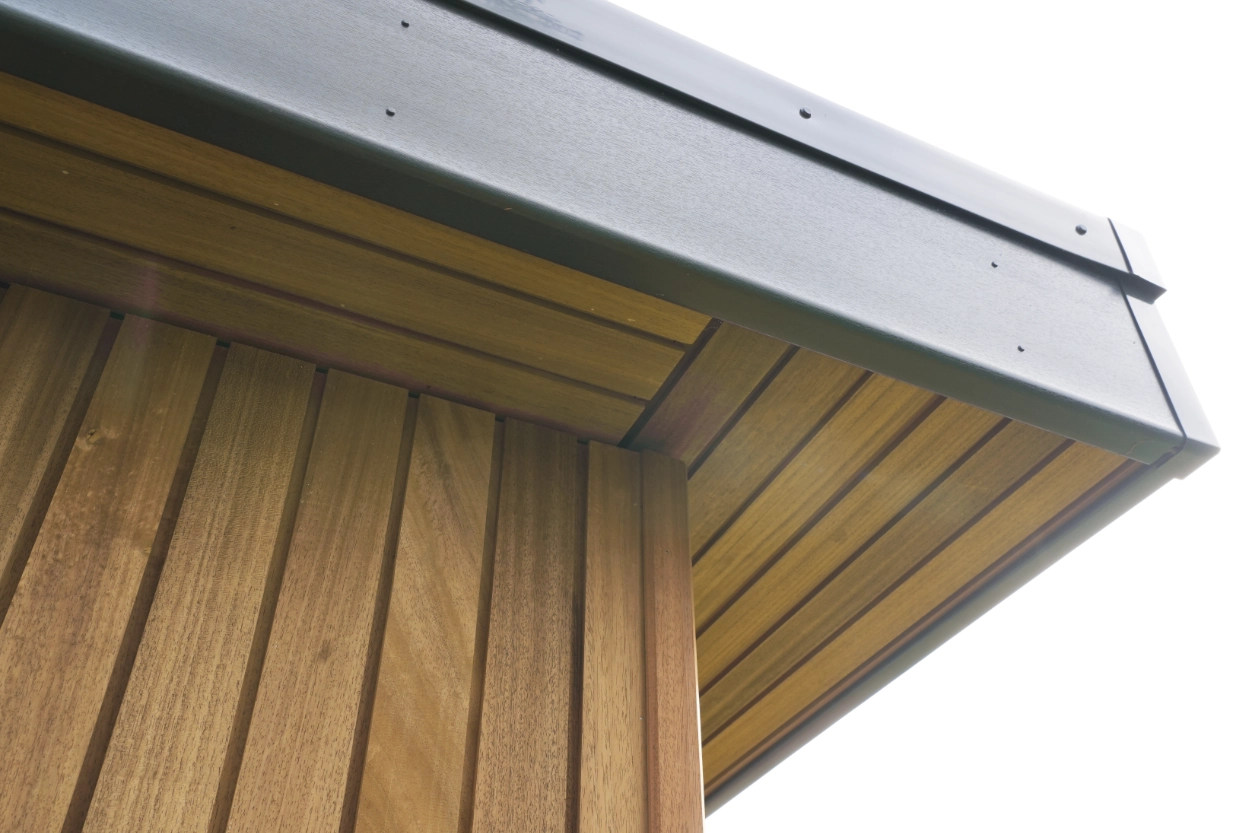
In Part 8 of this garden room build series, I show you exactly how to install timber cladding, battens and soffits the right way. From ventilation gaps and batten spacing to window reveals, corner detailing and stainless steel fixings — this is a full step-by-step breakdown of cladding a garden room properly.
We’re using thermally modified timber (ST65 profile) and I explain why, along with the pros and cons compared to options like Western Red Cedar and Vulcan Cladding. I also cover common mistakes to avoid, how to create airflow behind cladding, how to detail around windows and doors, and how to get crisp lines on a sloped roof with chamfered boards.
Tools & Products Used
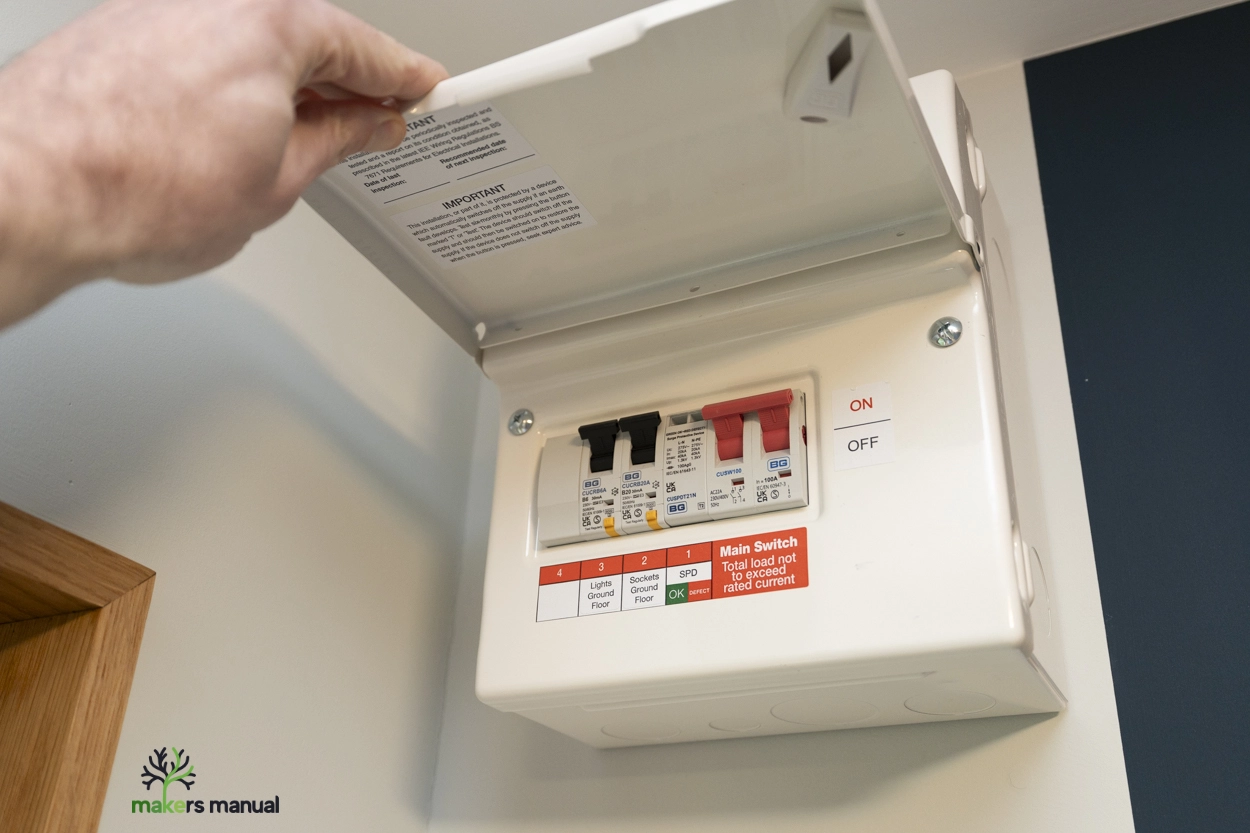
Part 9: First Fix Electrics and Insulation
In Garden Room Part 9 – First Fix Electrics & Wall Insulation, we go inside and tackle the essential first fix electrics and wall insulation. Watch as I run power and networking cables safely, upgrade from a radial to a ring main circuit, and install 70mm PIR insulation with a 25mm overlayer to reduce thermal bridging.
We also add Rockwool in the roof for soundproofing and rain noise reduction, plus tips on sealing gaps and creating solid fixings around windows and doors.
Tools & Products Used
Part 10: Vapour Control & Addressing Comments from Part 5
In Part 10 of this garden room build series, we install the vapour control layer and fix a major flaw found in many warm roof designs.
If you’re building a garden room, garden office, or insulated timber frame building in the UK, this detail is critical. I show how to correctly fit a vapour control layer for a continuous airtight seal — including butyl tape, sealing penetrations, and properly connecting the wall and roof membranes to prevent hidden condensation and long-term rot.
Tools & Products Used
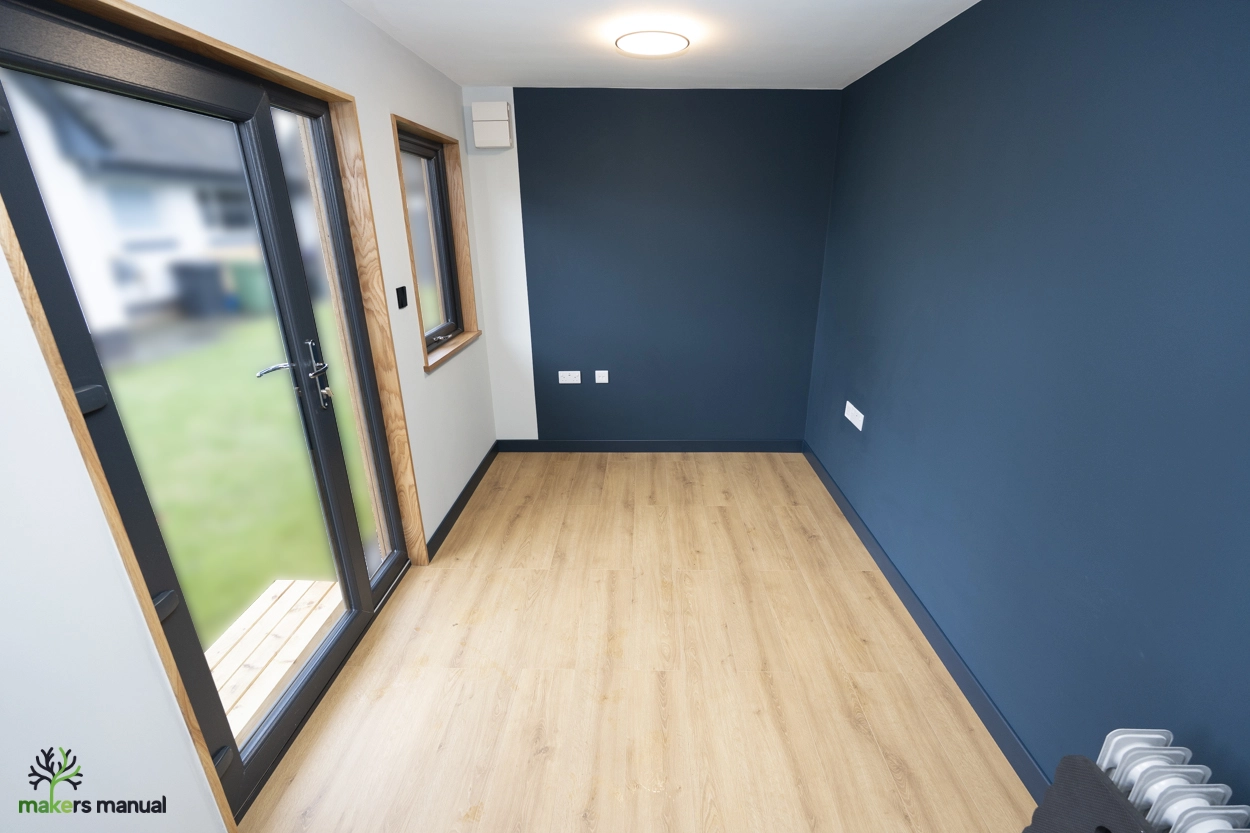
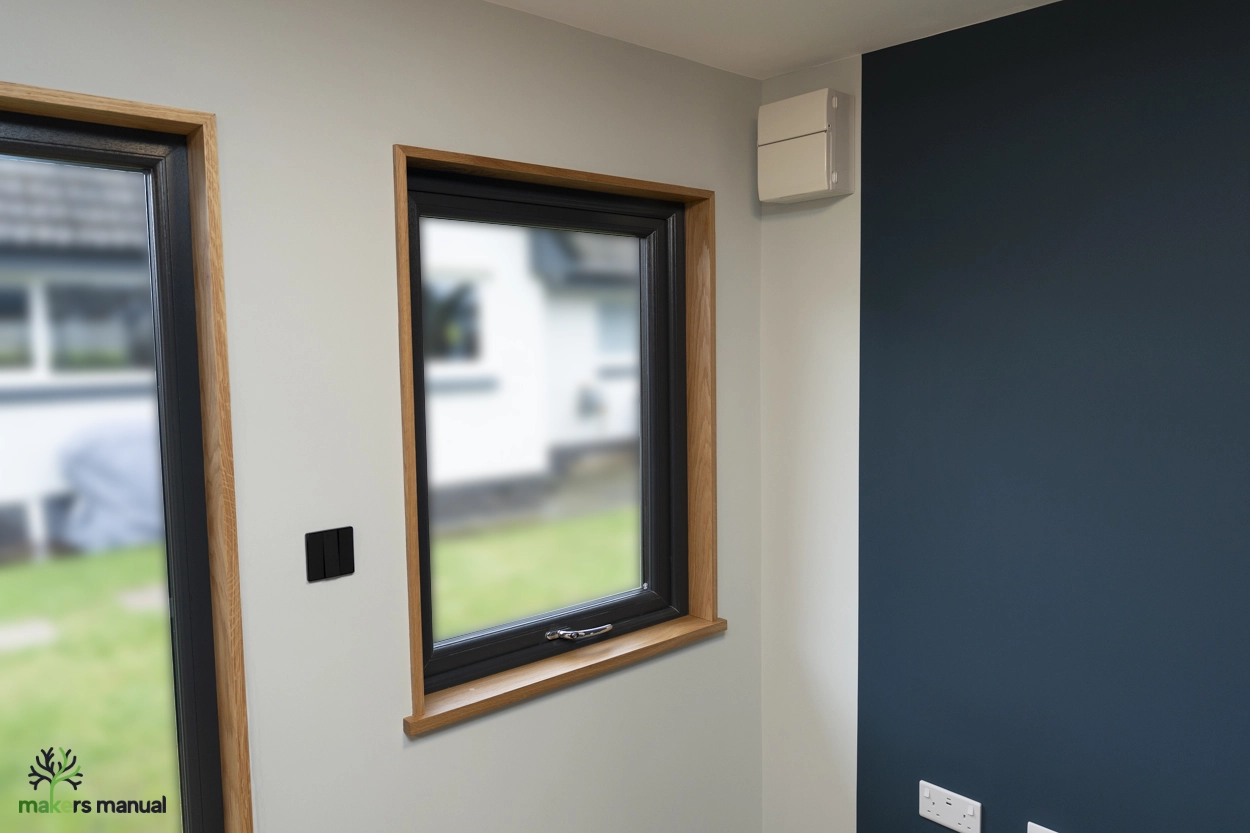
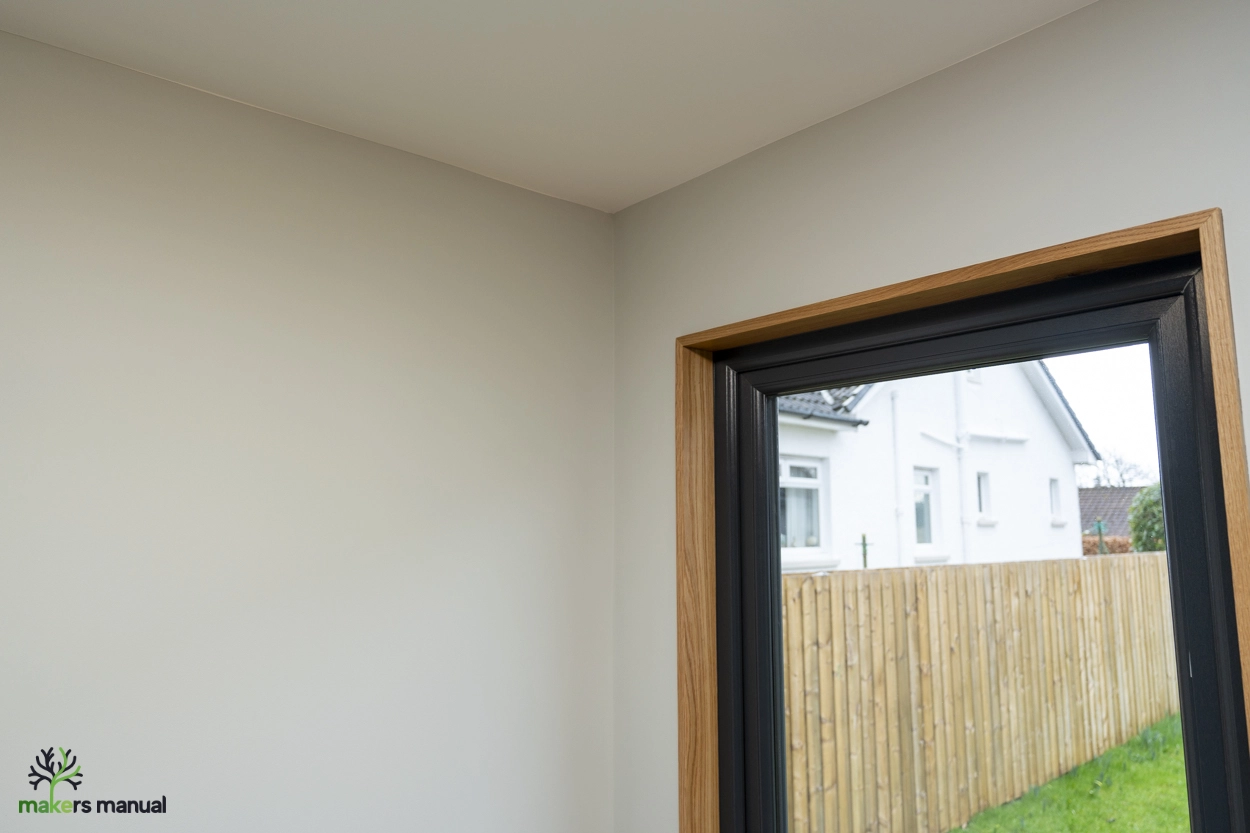
Part 11: Plasterboard, Painting, Window Trim & Flooring
In this final part of our garden room build series, we complete the fit-out from start to finish! Watch as we install plasterboard, tape and joint seams, fit stylish oak window trim, paint the walls with a two-tone scheme, install lights, and lay laminate flooring. We share practical tips on achieving a professional finish, including screw placement, corner treatment, and preventing paint bleed.
Whether you’re building your own garden room, office, or studio, this step-by-step guide shows techniques, tools, and materials to get it done efficiently and beautifully. Check out our plans for this garden room and the cold roof variant in the description below!
Garden Room Cost Breakdown
We did our best to keep track of every receipt during the build, and the final cost for this 10m² insulated garden room came in at roughly £8,000. This includes the foundations, fully insulated timber structure, doors and windows, electrics, and finished interior.
Here’s a rough breakdown of what we spent:
Foundations and timber structure: around £2,300
Timber cladding and trims: around £3,000
Windows and external door: around £1,900
Electrical installation and fittings: around £400
Interior finish (plasterboard, flooring, paint etc.): around £800
The design of this garden room has been very carefully considered to be as material-efficient as possible, which helps keep the overall cost down compared to many off‑the‑shelf designs that use less optimal dimensions. It’s always worth shopping around for materials, especially timber, insulation and roofing products, and don’t forget to check the links at the top of this article for discount codes for timber merchants and roofing membranes.
Interior Projects
Office Desks
Solid Wood Sideboard Storage
Shelving
Coming Soon
Acoustic Treatment
Coming Soon
